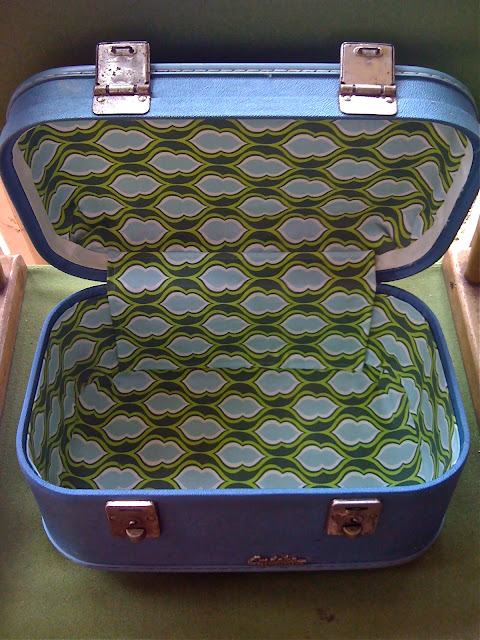
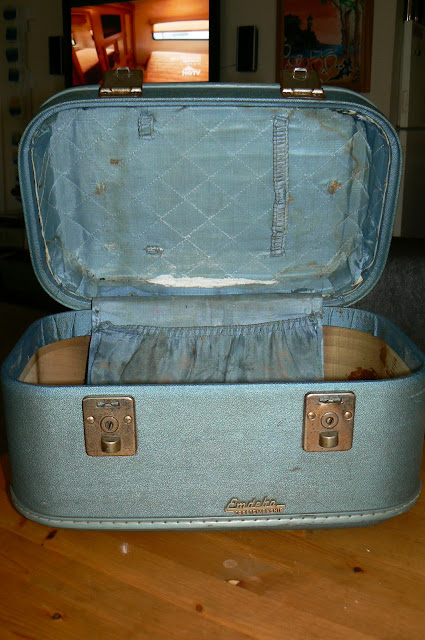
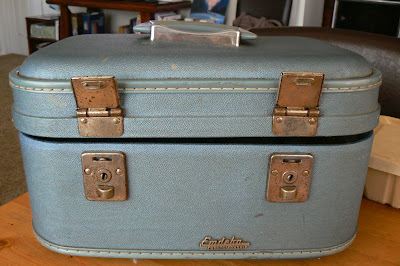
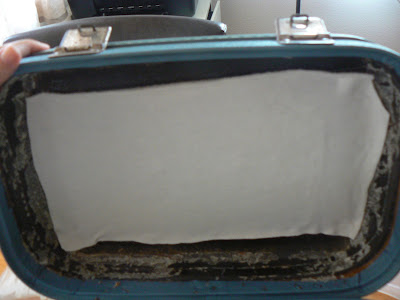
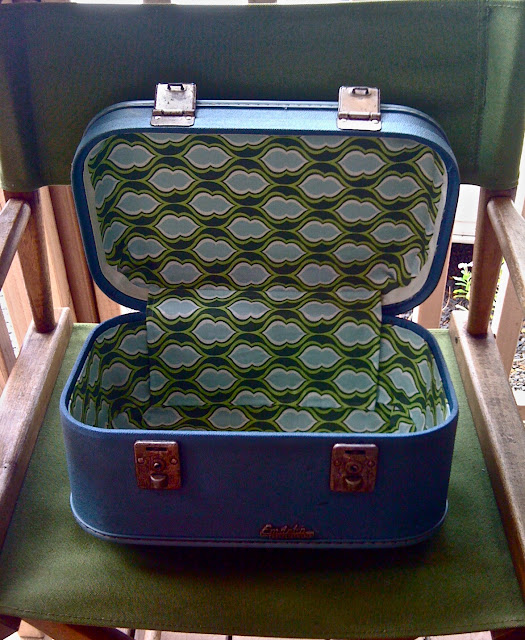
Last month I gave you a tour of my aunt's little cottage and told you how she gave me a vintage train case. Well, this train case was some vintage goodness, but also really nasty. It stunk. I did my research as to how to "re-do" a train case, and everyone said that 99% of these train cases wreak. I'll tell you exactly what they smell like: dog and cigarettes left over from the 1970s. You'd never believe that this:
was once this:
When Cailin visited in May, I tore out the disgusting insides, hoping that the stench was just being stored in the old fabric.
It wasn't. Even after tearing out it's insides, this little train case still stunk.
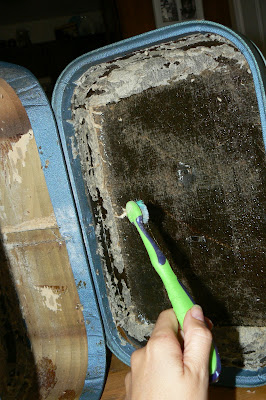
I took one of Ivy's toothbrushes and began to scrub. (And yes, I got her a new one...)
I used baking soda concoctions. I used perfume. I poured pine-sol in it. I let it sit closed for 3 days with this cleaning deodorizer in it. I finally just hosed the sucker out. I Magic-Erasered it, inside and out. Nothing worked. I was on the phone with Cailin telling her I was just going to throw it away, and she said, "No! You already bought the perfect fabric! Just finish it." So on Father's Day, while Kit was at work, I busted out the scissors, glue gun, modge podge and the sewing machine and got to work.
The stinky insides had been sitting in a brown paper bag since May. Kit almost threw them away a few times, and I found he'd also been putting the lint from the lint trap in the bag, thinking it was trash. They were not trash. They were my template:
I wanted a good line on the edges, so I sewed the edges that were going to go around the perimeter of the bottom of the case.
I wanted something to "cushion" the bottoms a little, rather then put the nice fabric right on the disgusting bottom/top of the case. So I cut out some rectangles of old sweat pant material and glue gunned them in.
Then I modge podged the bottoms and tops on top of it, and glue gunned the edges. I didn't want to use a ton of glue gun, because you can sometimes see/feel the bumps when it dries.
I pinned the corners so they'd lay nicely.
This is the case, upside down:
Then I glued the edges of the long pieces around the perimeter of the bottom of the case, really close to the top edge. The corners were tricky, but I finagled them.
For the top, I used a thick piece of canvas ribbon to cover the raw edges of the material. There was no way I was going to be able to sew it exact in that small section.

To cover the raw edges in the bottom where it wraps around, you use a square piece (which I sewed it's edges) and glue it from the bottom of the case to the top, covering where the hinges are.
And here it is! Finished!
I'm kind of in love with it. It's sitting on my entertainment center, as a catch-all.
The good news: It no longer stinks. The fabric somehow covers up the raw insides. I dunno. It's nothing like it was.
So go find a vintage train case, and re-do it.
Aloha, Rebecca

