I love my aunt Jaymee. She gets me. At age 1 she would put red lipstick on me. They're some of my favorite pictures to look at from childhood. We've always lived on opposite sides of the pacific, but when I went to college in California, I actually could drive and meet her for lunch. She would buy me Starbucks gift cards, (which I loved!) and she let me crash in her guest room whenever I needed.
2 years ago, Ivy, my mom and I went on a trip to California to visit family and friends. (After that trip, I blogged about my aunts adorable cottage here, my cousins uber-chic apartment here, and my very first train case here). I got the awesome vintage train case from my aunt (see pic on right). She actually had them just chillin in the trunk of her car and willingly gave one to me and one to my best friend. Little did she know that gift gave huge definition to my decor style, and that I would rip out its guts and give it a whole new look.
Recently that old post has been getting a ton of attention via Pinterest, and the pics from that post weren't the greatest (pre-iPhone 5S, if you know what I mean). I actually picked up 2 more train cases last November in Oklahoma, and just recently recovered the inside of them. I feel like it's time to show my updated collection. Incidentally, all my train cases happen to be blue. I'd give my pinkie finger for an avocado green one. I'd give my pinkie toe for a grey or yellow one.
For now, I'll have to settle with my blue collection of 3.
Here's my grey arrow print with mini mustard pom pom fringe.

What To Do With A Vintage Train Case

So how do you achieve that awesome inside?
Let's take a look at what some actually look like inside:


How To Recover The Inside Of Your Train Case
1. Tear out the insides, save for a possible template.
2. Scrub the insides with a soapy rag, baking soda, a magic eraser, something! These things smell like old dog and cigarettes. I have yet to find one that doesn't wreak.
3. Pour ground coffee in the train case, close it up, and let it sit for a week.
4. Clean out the coffee and febreeze it.
5. Find a base material to give it a slight cushion-y layer to hide imperfections. Here's what I've used: felt, fake "snow" from Christmas time (the kind in rolls), and pieces of my sweat pants that I cut off cause they were too long.


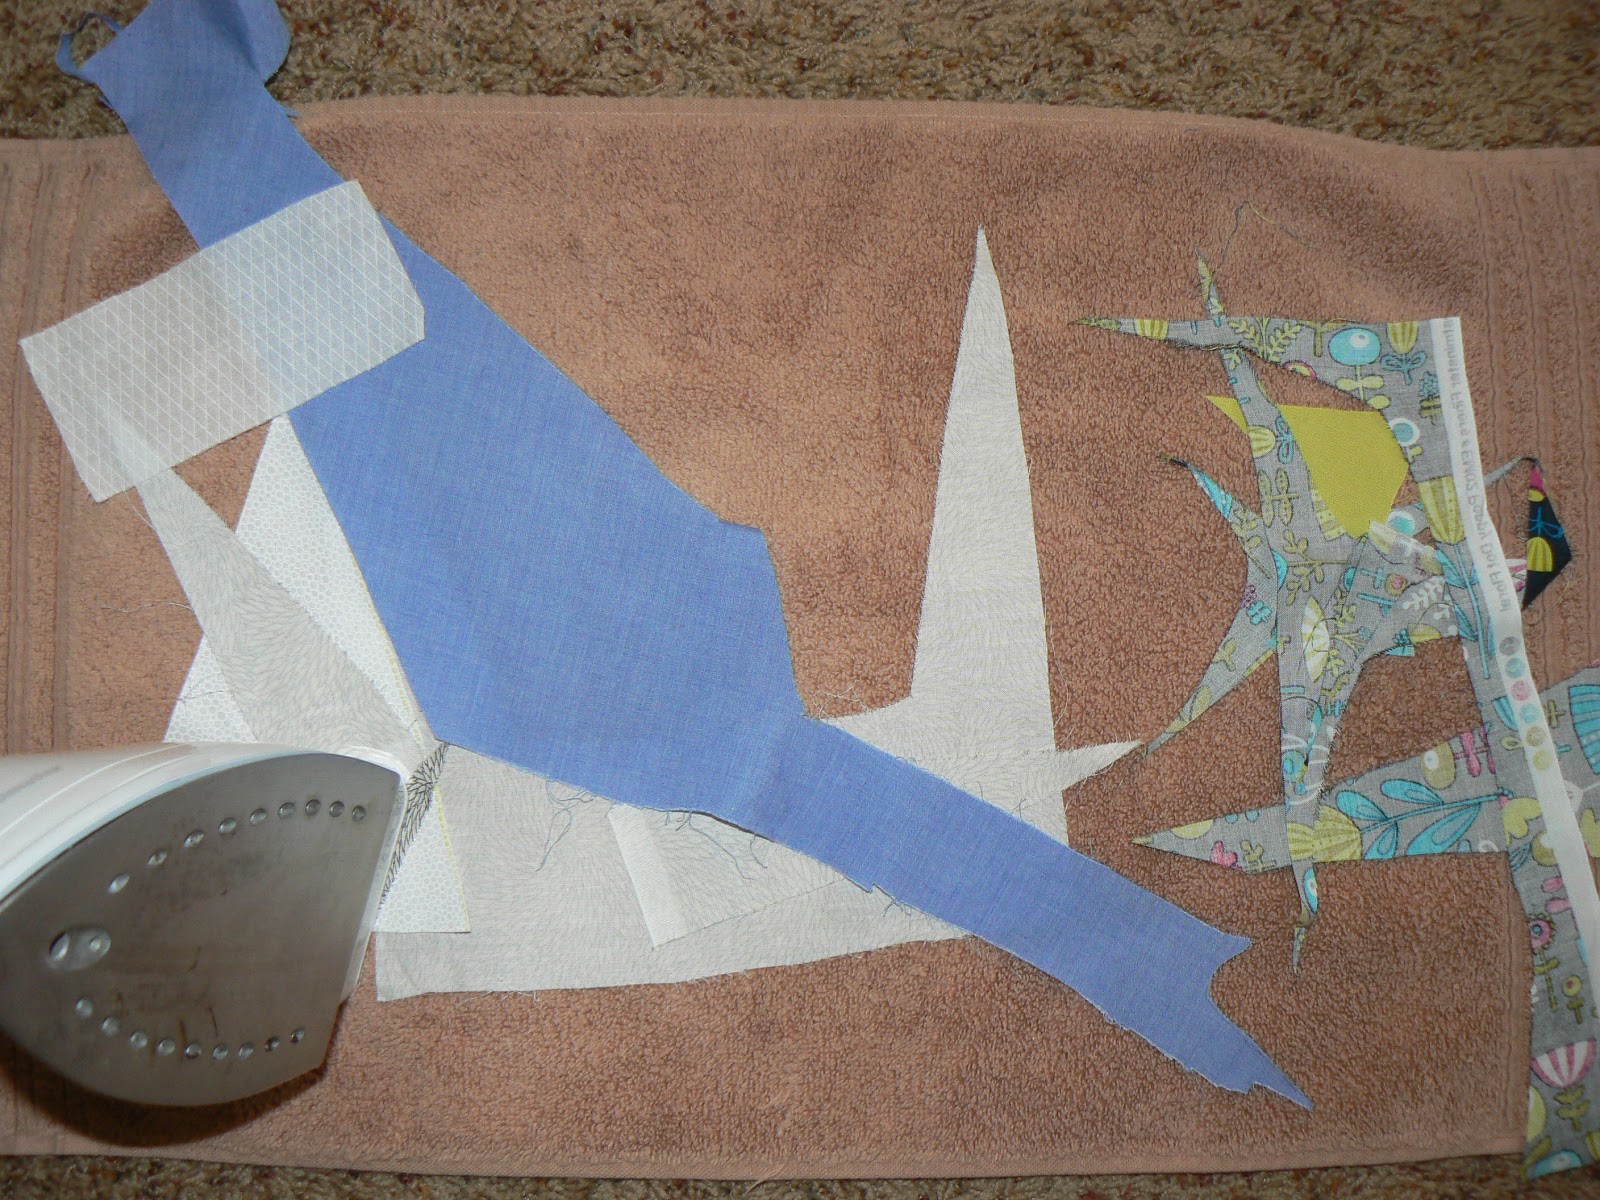
 6. Next, cut out a piece of fabric to go in the bottom of the train case. It can be a square, with rounded edges. It should be bigger than the bottom of the case, so that it goes up the sides of the case. Do the same thing for the lid of the case. Every time your cut out a piece of fabric, iron it well, because you can't iron it once it goes in the case!
 Your corners can be folded over one another. Use modge podge to initiate the adhesion, then use a glue gun to glue down the edges of the fabric.
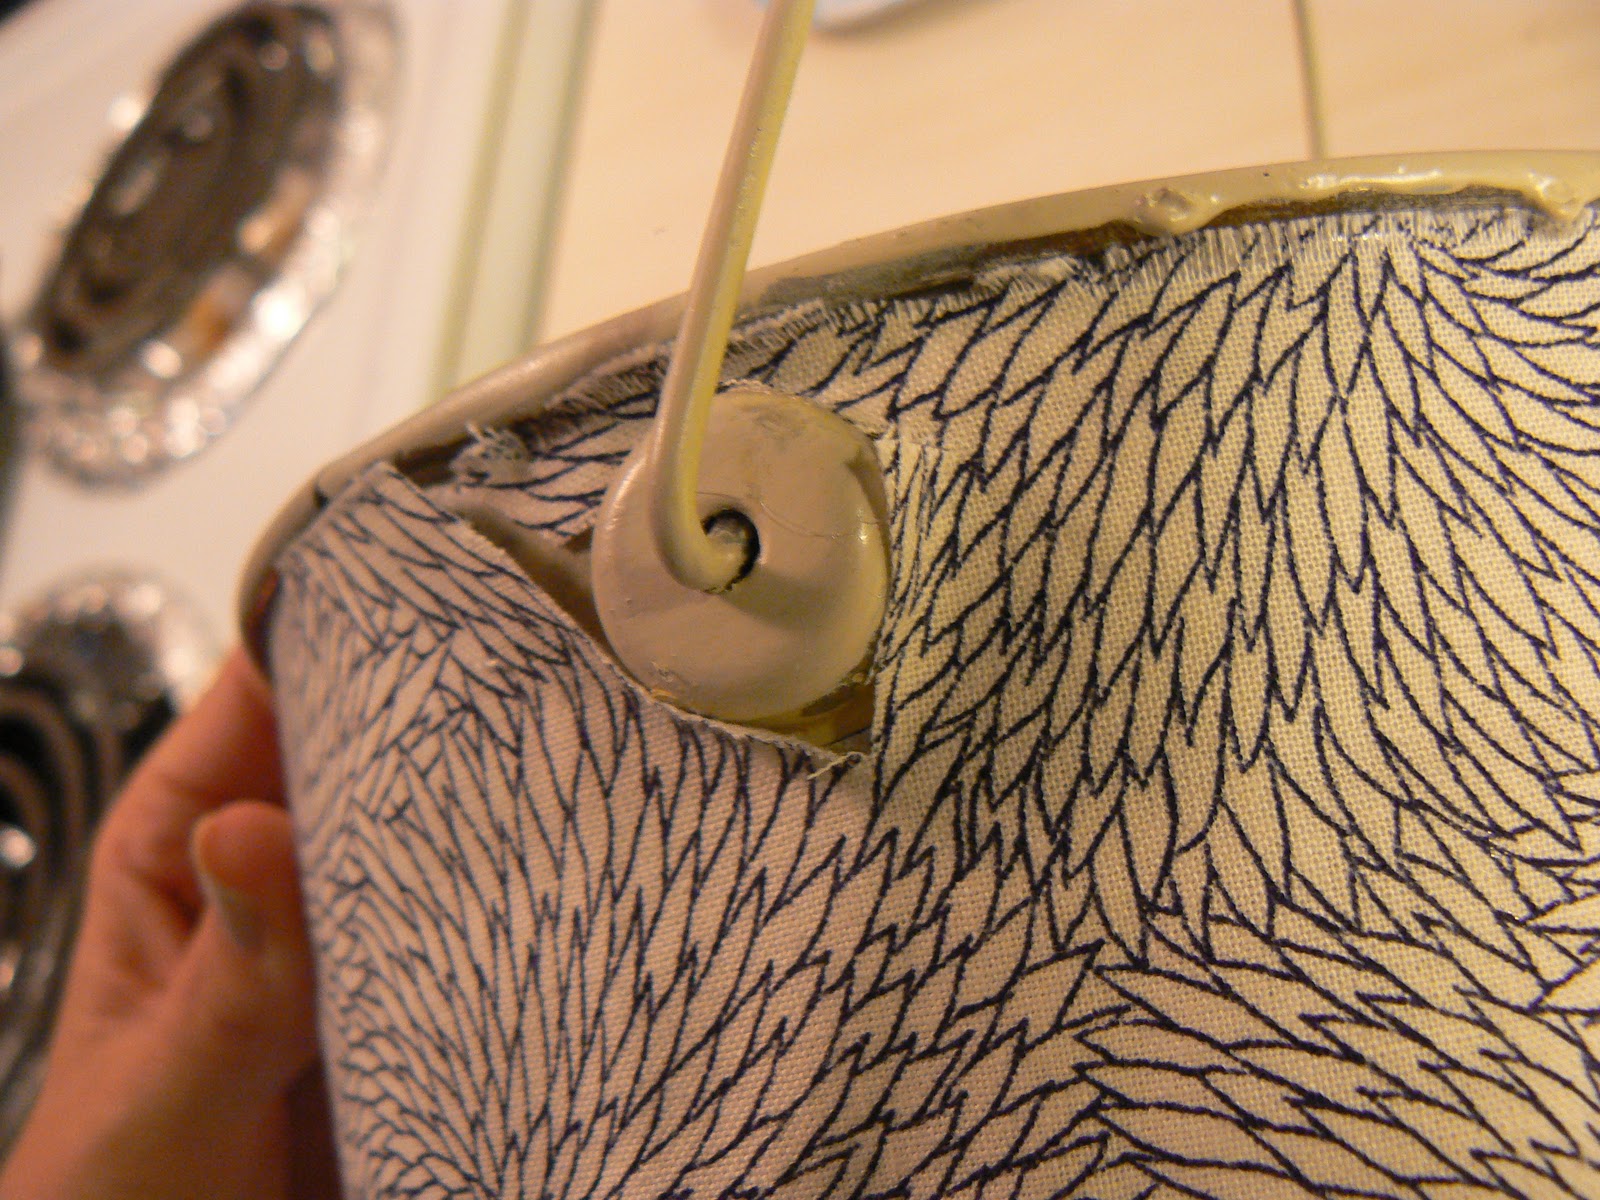
 7. Measure the length from the top (usually metal) edge of the case, down to where the case starts to curve under at the bottom. Measure the circumference of the case. Cut a piece of fabric a little larger than these measurements and sew a seam along the top and bottom edge (It will be a long rectangle that you've cut out, and you will be sewing seams on the two longer sides.) This piece then gets glued around the circumference of the case, starting in the center back, using modge podge and a glue gun on the edges. The top seam edge should lie right below the metal edge of the case. Repeat for the lid of the case. Make sure the edges meet in the center back of the case, near the hinges.


 9. Final step! Cut out a square of fabric, wide enough to cover the hinges, and tall enough to reach the top and bottom edge of the case. Hem this square on all 4 edges. (You may want to cut it a little bigger so you have room to turn under the seams). Glue gun it on the back edge of the train case, to cover all the raw edges you had meet in the back near the hungers. Don't glue gun it on the metal, just the case. Finish it all off with some scotch guard or spray modge podge just to stiffen it up a little and make it slightly more durable against stains.


Here's what mine looked like with fake "snow" sheets in it.
6. Next, cut out a piece of fabric to go in the bottom of the train case. It can be a square, with rounded edges. It should be bigger than the bottom of the case, so that it goes up the sides of the case. Do the same thing for the lid of the case. Every time your cut out a piece of fabric, iron it well, because you can't iron it once it goes in the case!Your corners can be folded over one another. Use modge podge to initiate the adhesion, then use a glue gun to glue down the edges of the fabric. 7. Measure the length from the top (usually metal) edge of the case, down to where the case starts to curve under at the bottom. Measure the circumference of the case. Cut a piece of fabric a little larger than these measurements and sew a seam along the top and bottom edge (It will be a long rectangle that you've cut out, and you will be sewing seams on the two longer sides.) This piece then gets glued around the circumference of the case, starting in the center back, using modge podge and a glue gun on the edges. The top seam edge should lie right below the metal edge of the case. Repeat for the lid of the case. Make sure the edges meet in the center back of the case, near the hinges.
8. The next step could be skipped, but it really puts the icing on the cake: trim! I choose a trim to line the edge of the inside of the case, and it really hides any imperfections you might have along the top edge. I've used mini pom poms, and a cotton 3/4" beige ribbon. Just glue gun around the top edge. Again, the ends should meet in the back, near the hinges
9. Final step! Cut out a square of fabric, wide enough to cover the hinges, and tall enough to reach the top and bottom edge of the case. Hem this square on all 4 edges. (You may want to cut it a little bigger so you have room to turn under the seams). Glue gun it on the back edge of the train case, to cover all the raw edges you had meet in the back near the hungers. Don't glue gun it on the metal, just the case. Finish it all off with some scotch guard or spray modge podge just to stiffen it up a little and make it slightly more durable against stains.
And that's it! Here's my red, white and blue case. With a little peach thrown in…
I love recovering these cases. I'm constantly trying to figure out how to get me some more cases all the way out to Hawaii. (By the time I finished this post, I gave in and ordered an avocado one off Etsy...) They're rare gems here! If you've got any you don't want, please mail them to me! If you've got any you want to hire me to recover, please mail them to me!
Hope this tutorial helps you out. I know it was lengthy!
Aloha, Rebecca