Showing posts with label gray. Show all posts

Saturday, May 31, 2014

Elephant Ear Dresser

More and more of my conversations with people are starting with: 

"I have this really old (blank). 
It doesn't look that great at all, 
but I really think you could do something great with it."

Here's the latest (blank):

grey and pink girls wood dresser elephant ear brushed nickel knobs

grey and pink girls wood dresser elephant ear brushed nickel knobsI'm calling it the "Elephant Ear Dresser" because from the moment my friend told me about it, I just felt like it needed to be grey and pink, and go in a little girl's room. I have this ribbon with grey elephants on it, and I guess it was in the back of my mind as inspiration for my next piece. I've never looked inside and elephant's ear, but I imagine it being pink. (Don't correct me if I'm wrong… let me believe the lie.)

grey and pink girls wood dresser elephant ear brushed nickel knobsI have a feeling this piece was originally green, then maybe someone wanted it pink? Thick pink? I'm a little confused on that piece of the painting puzzle.

grey and pink girls wood dresser elephant ear brushed nickel knobsI was lucky because a lot of the prep work had been done for me, because someone started scraping all the paint off. All I had to do was sand it smooth.

grey and pink girls wood dresser elephant ear brushed nickel knobs

It got a full coat of a coral/pepto bismol/bubble gum pink first, then I covered it all in grey. 
(See Godiva in her usual "helping" position? It looks like we were BBQ-ing that night.)
grey and pink girls wood dresser elephant ear brushed nickel knobs

grey and pink girls wood dresser elephant ear brushed nickel knobsI knew I wanted it to be owl grey. But I went into my stash of paint and it was nowhere to be found! I was so set to get this baby done, the sun was setting, and I needed my owl grey! I just ended up making my own. I added some "oops" beige to a dark grey I had on hand. Who knows if they were satin, flat, gloss… but it came out perfect. 


grey and pink girls wood dresser elephant ear brushed nickel knobsI also knew I wanted some peek-a-boo pink on the sides of the drawers. The drawers were in pretty good shape inside, but I always like to line my drawers with fabric. 

grey and pink girls wood dresser elephant ear brushed nickel knobsgrey and pink girls wood dresser elephant ear brushed nickel knobs

I chose this yellow/pink/grey fabric for the drawers.
grey and pink girls wood dresser elephant ear brushed nickel knobs

I also put the same fabric on the back, just to give it some "peek-a-boo" fun. The back of the dresser was also the only part of the piece that wasn't real wood. It needed some prettification. 

grey and pink girls wood dresser elephant ear brushed nickel knobsgrey and pink girls wood dresser elephant ear brushed nickel knobs

So with it painted, I distressed it so the pink would show through, and then used Miss Mustard Seed's Antiquing Wax over the whole thing. 
grey and pink girls wood dresser elephant ear brushed nickel knobs

If you know me, you know I fall in love with the imperfections in the wood.

grey and pink girls wood dresser elephant ear brushed nickel knobs

grey and pink girls wood dresser elephant ear brushed nickel knobsAs much as I wanted to go all trendy with the knobs, I went economical (knobs are expensive!) and I actually think the brushed nickel is way cuter and streamlines the piece. Anything else would have been too busy. 

grey and pink girls wood dresser elephant ear brushed nickel knobs

It sold, via Instagram, within 6 hours of posting it. That's a record!! It was actually spoken for by 2 different people within the first hour, but ended up in one of their hands within 6 hours. Better yet, if I could have made a custom dresser for the little girl who's room it ended up in, I would have made this exact dresser! She's one of my dance students. 

grey and pink girls wood dresser elephant ear brushed nickel knobs

Aloha, Rebecca
Read more ...

Monday, December 30, 2013

Before & After: Herringbone Chair and a Vintage Sewing Table

Did anyone else do a dump-run post-Christmas? I mean, with all the junk, not all the new gifts you just received. Well, we CLEANED HOUSE. Also, while we were in Oklahoma and Arkansas, a few rats decided to move in to our laundry area and car tent. So it was a necessity. My husband was clearing out EVERYTHING, and in order for me to keep my beloved trash vintage furniture that I planned on working on, I had to get my butt in gear and look like I was working on it! So here's 2 projects that transpired out of the urgency of Kit's dump run:

kids herringbone chair blue yellow

antique seing table before and after

 Aren't they fun? 

This kids herringbone chair was lots of fun to do.
herringbone chair grey yellow

You can see it in the foreground of this photo, in all it's wooden glory. Ivy was helping me that day.

herringbone chair
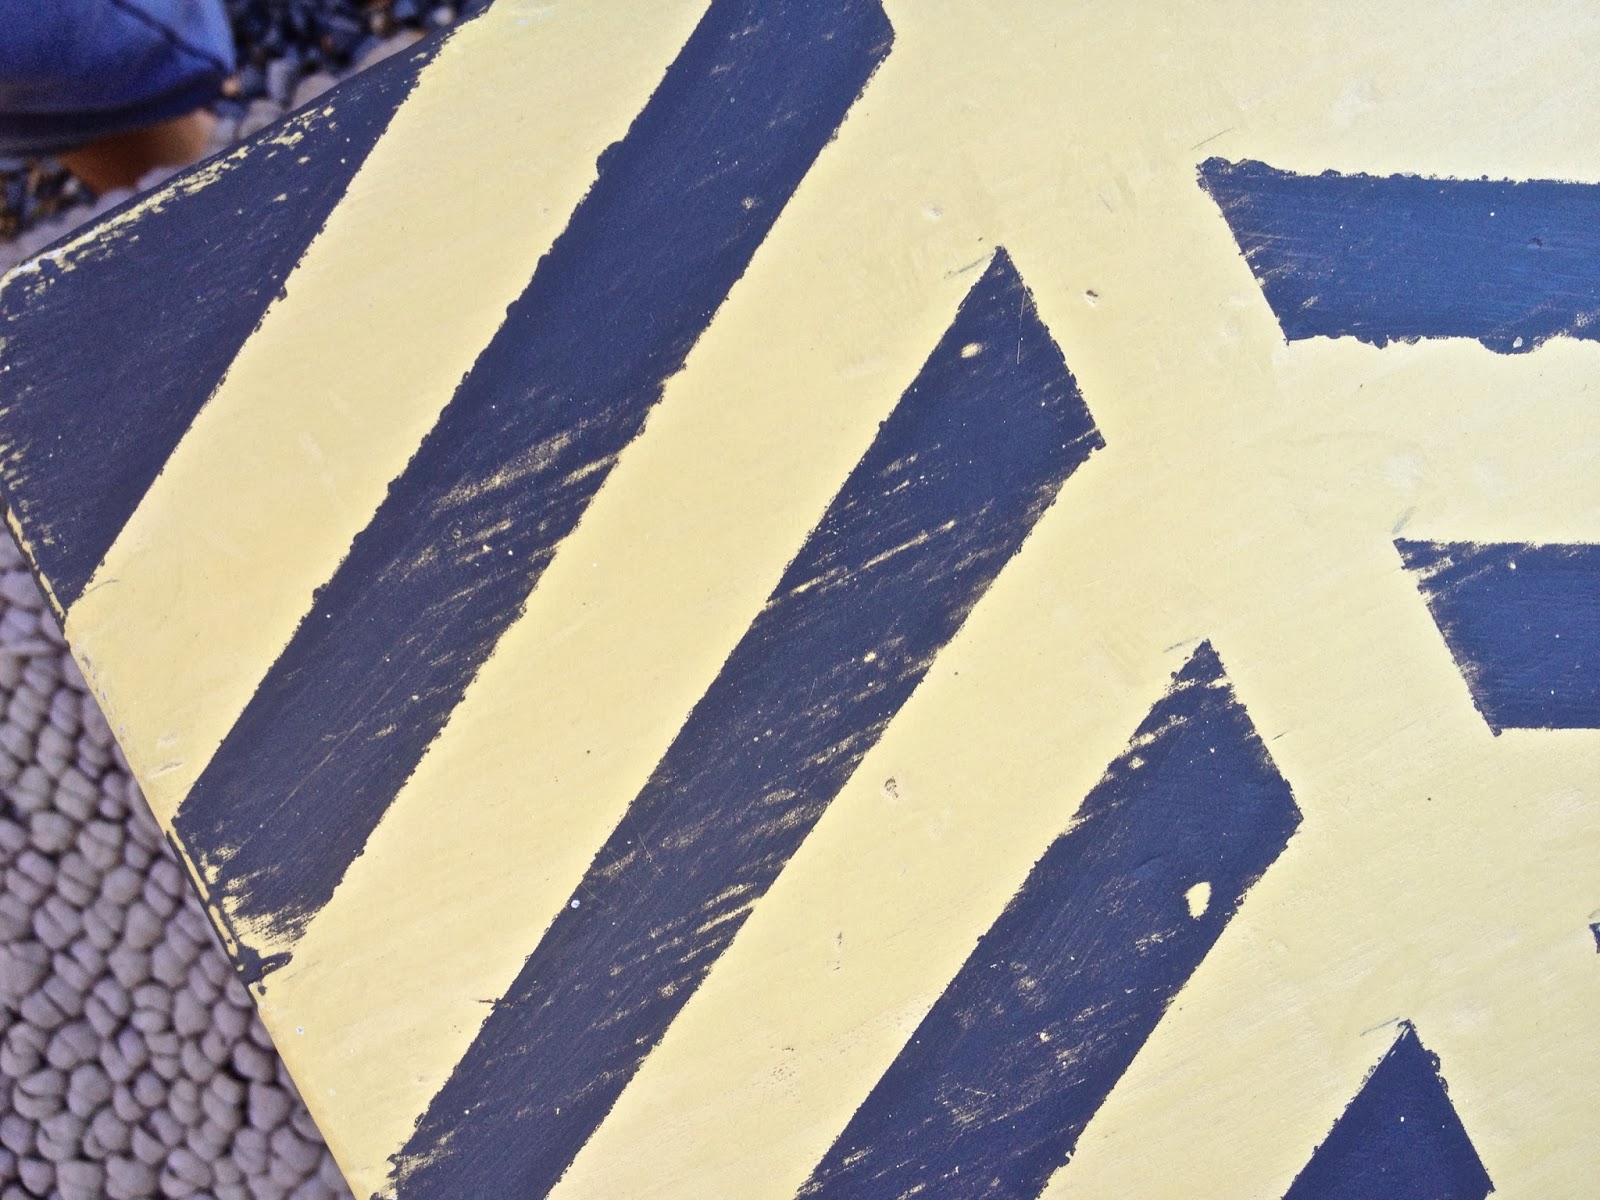
After spraying it with a little Kilz, I painted the seat yellow, then taped out a herringbone pattern.

Then I painted the whole thing in a charcoal grey satin, and distressed the whole thing.

herringbone chair grey yellow


herringbone chair grey yellow

I just want to live in the picture below, with that driftwood and Coco the monkey:
herringbone chair monkey bunting driftwood

For Sale on Etsy for $25.

Now, on to the Vintage Sewing Table that was in horrendous shape, which is how I scored it for $5 at a garage sale. 

antique seing table beforeantique seing table before and after

That's aluminum foiled stuck on the inside of the table, in the upper right photo.

antique seing table before and after

 After wondering the best way to salvage this piece, I decided it just couldn't be a sewing machine table anymore. I removed the entire inside sewing machine piece, and just screwed the top on. Also, the wood was just in such poor shape that I couldn't preserve it as a wood piece. Look at all that water damage!

antique sewing table

I still wanted some wood to show through, so I went for an ultra distressed look with the following layers:

1. charcoal grey on the whole thing
2. tomato red dry brushed on the top and sides
3. "shiloh" grey/beige color on top and sides
4. distress with a medium grit sanding block
5. Miss Mustard Seed antiquing wax
6. Miss Mustard Seed furniture wax
7. Sand the original hardware

antique sewing table with wizard of oz book

antique seing table grey

That rug is from The Nest here on Maui. My mom got it for me for Christmas. I love it. So does Godiva, because she keeps sneaking in my room to sleep on it and I have to shoo her off of it.
That bunting is up for sale in the Etsy shop. Click here to see it.
That's my DIY votive I made last year. Click here to see that post.

antique seing table grey with bunting books

One last look:

herringbone chair grey yellow

antique seing table before and after

I just love a good 'before & after.'
-Becca

Read more ...

Monday, August 13, 2012

A New Cupcake - post from Cailin!!

 Now I know I have been lacking in the post department, but I have been inspired! 
By guess who? Rebecca, of course! 

  It was amazing to have her and Ivy stay with us for a few days. Having them here to celebrate Jed's second birthday was super special! Soon after they arrived I asked Rebeca for ideas on how I could make my house more functional with cute furniture and a new color scheme for our living room. We decided that the colors from my kitchen/dining room should flow to the living room. Those colors are gray, yellow and black. 

The first piece to be transformed to that color scheme was the table Rebecca posted about last week! I love it!!!!  That's where my inspiration began to take form! The yellow table, along with a bowl full of fresh lemons on my counter, caused me to think CUPCAKES!!! More specifically, lemon blueberry cupcakes. 

I happened to have a lot of fresh blueberries on hand too. I made my basic vanilla cupcake and added fresh lemon zest and juice and folded in one cup of blueberries. As soon as I turn on my KitchenAid mixer Jed starts asking for "Cupcake!"

After they cooled I began to make a new frosting....a creamy goat cheese frosting! 

1/4 butter, softened
4 ounces goat cheese, softened
2 tablespoons milk
2-3 cups powdered sugar


Mix the butter and cheese together then add the milk and powdered sugar. This is definitely one of my favorite frostings!!! It pairs so well with the lemon and blueberries. Jed and I shared one and now I need to get the rest of them out of my house before we devour the rest!


  Thanks, Rebecca for the "yellow" inspiration!

Aloha, Cailin

Read more ...