Thursday, June 21, 2012

Vintage Train Case

Last month I gave you a tour of my aunt's little cottage and told you how she gave me a vintage train case. Well, this train case was some vintage goodness, but also really nasty. It stunk. I did my research as to how to "re-do" a train case, and everyone said that 99% of these train cases wreak. I'll tell you exactly what they smell like: dog and cigarettes left over from the 1970s. You'd never believe that this: 

upcycled train case

was once this:

upcycled train case before

When Cailin visited in May, I tore out the disgusting insides, hoping that the stench was just being stored in the old fabric. 

upcycled train case before

upcycled train case before smellupcycled train case before closed


It wasn't. Even after tearing out it's insides, this little train case still stunk. 

upcycled train case

I took one of Ivy's toothbrushes and began to scrub. (And yes, I got her a new one...)

upcycled train case clean with toothbrush
upcycled train case


I used baking soda concoctions. I used perfume. I poured pine-sol in it. I let it sit closed for 3 days with this cleaning deodorizer in it. I finally just hosed the sucker out. I Magic-Erasered it, inside and out. Nothing worked. I was on the phone with Cailin telling her I was just going to throw it away, and she said, "No! You already bought the perfect fabric! Just finish it." So on Father's Day, while Kit was at work, I busted out the scissors, glue gun, modge podge and the sewing machine and got to work. 

The stinky insides had been sitting in a brown paper bag since May. Kit almost threw them away a few times, and I found he'd also been putting the lint from the lint trap in the bag, thinking it was trash. They were not trash. They were my template:

upcycled train case pattern

I wanted a good line on the edges, so I sewed the edges that were going to go around the perimeter of the bottom of the case. 
upcycled train case with fabric

I wanted something to "cushion" the bottoms a little, rather then put the nice fabric right on the disgusting bottom/top of the case. So I cut out some rectangles of old sweat pant material and glue gunned them in.


upcycled train case liner

Then I modge podged the bottoms and tops on top of it, and glue gunned the edges. I didn't want to use a ton of glue gun, because you can sometimes see/feel the bumps when it dries.


I pinned the corners so they'd lay nicely.

upcycled train case fabric inside

This is the case, upside down:
upcycled train case

Then I glued the edges of the long pieces around the perimeter of the bottom of the case, really close to the top edge. The corners were tricky, but I finagled them.

upcycled train case


For the top, I used a thick piece of canvas ribbon to cover the raw edges of the material. There was no way I was going to be able to sew it exact in that small section. 

upcycled train case

To cover the raw edges in the bottom where it wraps around, you use a square piece (which I sewed it's edges) and glue it from the bottom of the case to the top, covering where the hinges are. 

upcycled train case

And here it is! Finished! 

upcycled train case after

I'm kind of in love with it. It's sitting on my entertainment center, as a catch-all.


upcycled train case catch all

The good news: It no longer stinks. The fabric somehow covers up the raw insides. I dunno. It's nothing like it was. 

upcycled train case on entertainment center

So go find a vintage train case, and re-do it. 

Aloha, Rebecca

Read more ...

Wednesday, June 13, 2012

Martha Stewart Paper Bag Puppets

Cailin came to visit from Kauai over Memorial Day weekend!! Of course, she brought gifts with her. She always does. She brings Ivy and I clothes and usually some fun activities for Ivy too. This time it was Martha Stewart "Make-Your-Own" puppets she got at a garage sale! NEW IN PACKAGE! All for $1.00!


Her and Ivy had a blast doing them together. Cailin hates taking pictures, so being the good friend that I am, I didn't make the weekend all about photographing our activities. 


They came with super-easy instructions.


Aren't they cute?! We've also been making bears, lobsters, peacocks, elephants and frogs. Note: don't leave your 2.5 year-old alone with the puppet packets... she disassembled a few of them and we had to get creative.


These puppet kits are really expensive at the store. But now that I've done them, and know how much fun they are, I would maybe, just maybe, consider buying one!! Maybe...


And if you like the fabric bucket, you can see that post here. And I'm sure you recognize the table and chairs from here. Thanks for the fun gifts, Cailin!

Aloha, Rebecca


Read more ...

Tuesday, June 12, 2012

Lilikois and Smoothies


I love Summer. It's not like anything is any different here in Hawaii... it's maybe 5 degrees warmer. The sun sets at 7:00pm instead of 6:00pm. There are a ton of tourists on the island making traffic terrible... but for some reason I love summer. My work schedule is totally different and I love it. The best thing about summer is the lilikoi's are ripe! (I think they're a.k.a passion fruit). Ivy calls them "Lilitois." Hahahaha. So cute.

I started making smoothies with Ivy. 
The idea that all those nutrients are mixed into one yummy drink is awesome. 
Here's what we use:

-some kind of veggie/fruit juice
-frozen berries
-frozen chopped spinach
-vanilla yogurt
-milk
-any other fruit we have laying around (like lilikois)
-ice


Ivy loves to help make them too!


And she loves holding the lid on... Don't worry, I help her. This photo is staged for effect.


She likes it, I promise... :)

PS: Cailin gave her that dress. It's from a garage sale. 
I love how Cailin knows what we need/like at garage sales. 

Yay for Lilitois! And Smoothies!


Aloha, 
Becca
Read more ...

Sunday, June 3, 2012

Fabric Buckets

In April I made my first fabric bucket off the tutorial from www.inspiredbyfamilymag.com. It turned out so cute (see it here), and I've been dying to make some more. So last night I started cutting out felt (what I use instead of interfacing) and fabrics. I wanted one for Ivy's room, one to send to Cailin, and one to give to a friend who is having a baby girl (shout out to Julia from piranhamama.com). 

Here's the one for Ivy's room:


Are you sick of this fabric yet? I'm not.

Here's the one for Cailin:


And here's the one for my friend's baby:


And her's comes with matching bunting :)


Check out her nursery (click here). I hope this stuff matches alright. :)


These are really easy to make and so nice to stuff random knick-knacks or baby wipes or remote controls or keys or cell phones or make-up or toys or... or... or... anything in! I'm thinking of making one in some neutral colors to stick next to the DVD player and stuff all the DVD cases in it. Random, I know.

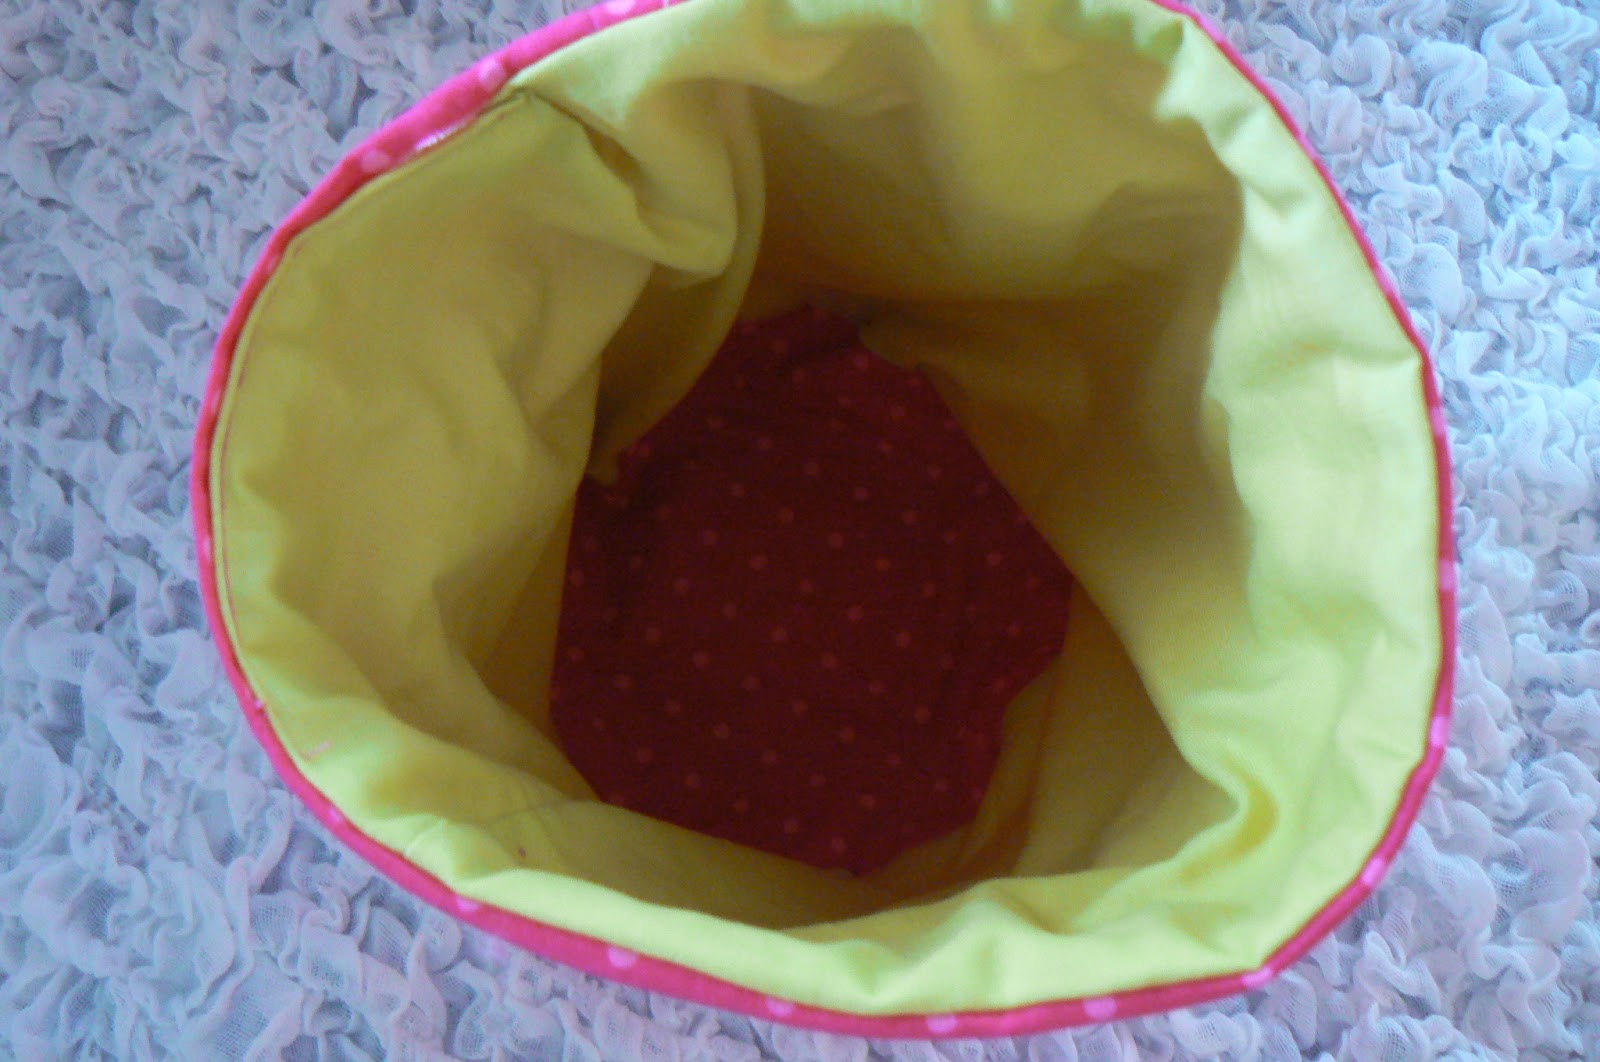
I love how they look inside:


And yes, they're reversible. 
Last look:


Aloha, Rebecca


Read more ...

Saturday, June 2, 2012

Validation

Today Ivy told me one of the sweetest things. It's a little material, but still I feel very grateful for her feedback, especially since she's just 2 and a half. She said, "Mom, I love my room. My room is so fun. It has all the fun things. I really like it."

Success! Accomplishment! Validation! You see, sometimes I feel bad trying to make her room a clean, functional, pretty place. I feel as if I should be spending all the time just playing in it with her. However, I'm not a messy person. I don't settle for mediocre anything. So I've spent a lot of energy trying to make her room into a sweet haven that any kid (mainly girls) would want to chill out and have fun in. Many of the projects on this blog are things for her, and I love doing them!


I'm just glad she gave me some positive feedback that she appreciates her room and enjoys what "we" have created. 


Aloha, Rebecca
Read more ...